WLED LED Strip Controller Guide for Supa Strip & Aura
WLED is the open-source WLED LED strip controller firmware that turns a simple ESP32 board into a powerful, Wi‑Fi controlled brain for your Supa Strip and Aura Strip builds. If you’re running high-density CS8812/SK6812-style strips at 12V, WLED is almost always the easiest way to get smooth animations, smart home integration, and fine-grained control without writing a single line of code.
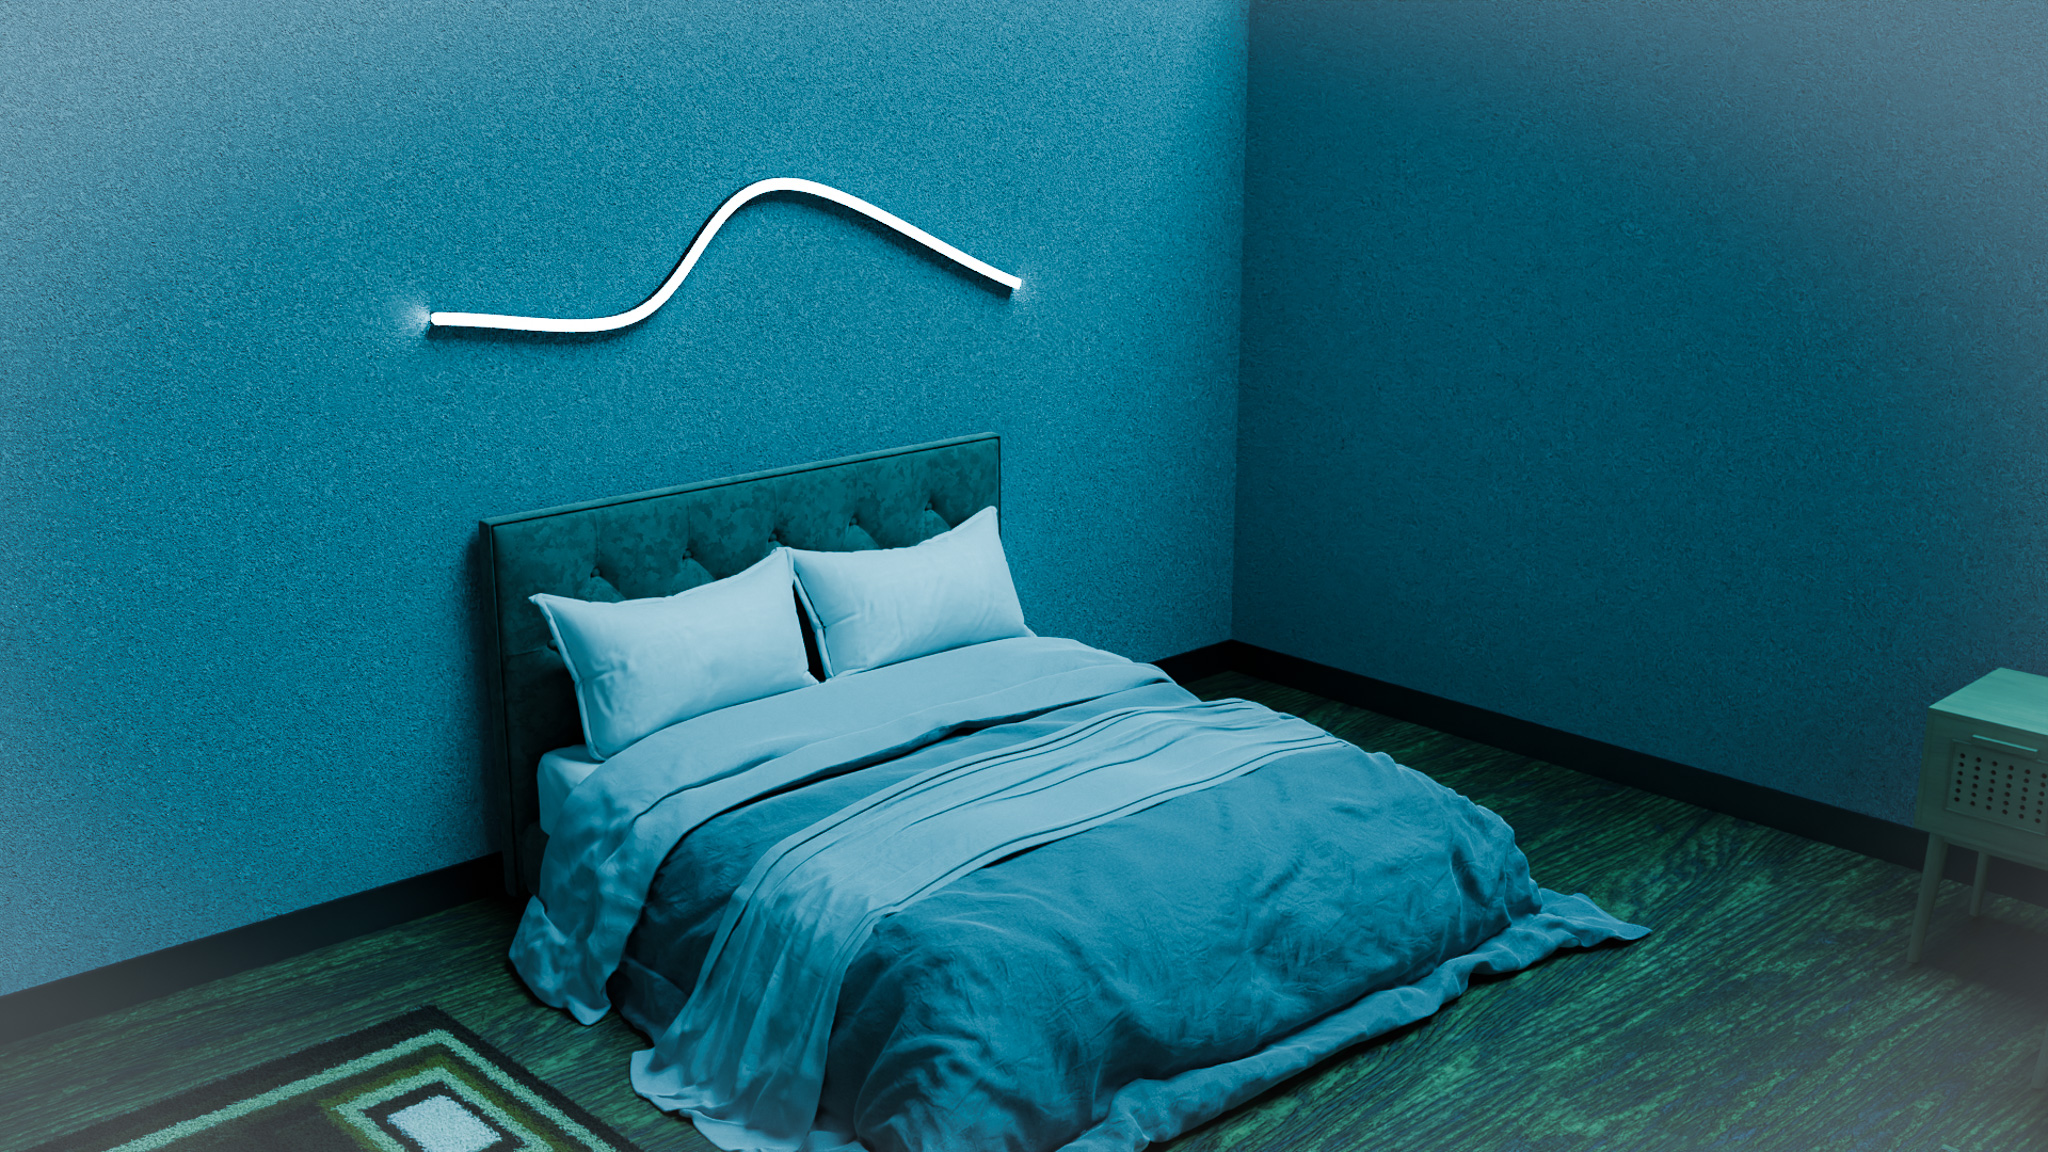
This article is for DIY builders, integrators, and lighting designers who want to use WLED as the control layer for Supa Strip (144 LEDs/m 3‑side neon) and Aura Strip (96 LEDs/m) in real-world installations.
You’ll learn:
- What WLED is and why it’s such a good match for Supa Strip and Aura Strip
- How to think about power and wiring with WLED (without step-by-step mains instructions)
- How to use segments to control multiple strips from one controller
- How brightness limits and power settings keep your 12V supplies happy
- Example layouts for rooms, desks, and signs
Always follow local electrical codes. If you’re unsure about mains-voltage wiring, consult a qualified electrician.
What Is WLED?
WLED is free firmware you flash onto an ESP8266 or ESP32 board. Once installed, the board becomes a network-connected LED controller that can drive individually addressable strips like:
- CS8812 / SK6812 RGBW strips
- WS2812B and similar RGB strips
- Supafire’s Supa Strip and Aura Strip products
You interact with WLED through:
- A clean web interface (from any browser on the same network)
- Mobile apps (which just talk to the same web API)
- Integrations with platforms like Home Assistant and other smart home tools
For Supa Strip and Aura Strip, the big win is that WLED understands addressable LEDs, segments, brightness, power limits, and effects out of the box. That means you can focus on physical layout and power planning, not firmware.
Why WLED Works So Well with Supa Strip & Aura
Supa Strip and Aura Strip are built to be addressable, high-density, and 12V-friendly. WLED slots nicely into that picture:
- Addressable control: WLED is designed for strings where each LED (or pixel group) can be unique. Perfect for Supa Strip neon outlines and Aura room runs.
- Segments: You can split a single controller’s output into multiple logical zones – great when one ESP32 controls Supa Strip on the wall and Aura under the desk.
- RGBW awareness: WLED understands RGBW strips, so the 4000K white channel on Supa Strip (and RGBW Aura variants) is treated as a first-class citizen.
- Power limiting: You can tell WLED, “pretend we only have X amps available,” and it will automatically cap brightness to stay within a safe power budget.
- No cloud requirement: Everything runs locally. As long as your network is up (or you use WLED’s own access point mode), your lights work.
In other words: WLED treats LED strips as a core building material, the same way Supa Strip and Aura Strip do.
Hardware Overview: What You Need Around WLED
At a high level, a WLED setup for Supa Strip and Aura Strip includes:
- ESP32-based WLED controller board
- 12V power supply (20A or 40A are common sizes)
- Level shifting / buffering where appropriate (some boards include this)
- Your LED loads: Supa Strip and/or Aura Strip
A typical architecture looks like this (low-voltage side only):
[12V PSU] ----> +12V  -------------------------> Strips (Supa / Aura)
                 GND  ----+-------------------> Strips
                          +--> GND to ESP32

[ESP32 WLED] --> Data ----> First strip data-in (with level shifting if needed)
Key ideas:
- Shared ground: The power supply and the ESP32 must share ground so data signals have a reference.
- 12V stays on the strip side: ESP32 boards themselves typically run at 5V or 3.3V; don’t feed them raw 12V unless your controller board has an appropriate regulator.
- Mains side: The AC input to your 12V PSU is always treated separately, and should be wired according to local codes by someone who knows what they’re doing.
We’re focusing here on low-voltage planning; mains wiring is out of scope and should be left to qualified people.
Power Planning with WLED’s Brightness & Power Limits
High-density strips like Supa Strip and Aura Strip can draw significant current at full white. The good news is:
- You rarely run full white at 100% brightness, and
- WLED has built-in controls to keep things safe.
Step 1: Estimate your total LED power
Use reasonable per-meter planning numbers (example values):
- Aura Strip (96 LEDs/m): ~16 W/m at full-bright RGBW
- Supa Strip (144 LEDs/m 3-side neon): ~24 W/m at full-bright RGBW
Then:
Total Power (W) ≈ Σ (length in meters × W/m)
Total Current (A) ≈ Total Power (W) ÷ 12V
Aim for 70–80% of your PSU rating as continuous safe load.
Example:
- 5 m Aura Strip (16 W/m) → 80 W
- 5 m Supa Strip (24 W/m) → 120 W
- Total: 200 W
On a 12V 40A PSU (≈480 W), that’s well within comfort, especially if your scenes aren’t constant full white.
Step 2: Set WLED’s power limit
In WLED’s power settings, you can:
- Tell it your estimated max current (e.g., 20 A or another realistic number)
- WLED will then automatically adjust brightness to stay under that simulated limit
This is a second layer of safety after correct PSU sizing and wiring:
- PSU + wiring sizing = hard capacity
- WLED power limit = behavioral cap to avoid worst-case spikes
Segments: Multiple Zones from One WLED Controller
One of the best parts of WLED is segments. A segment is a contiguous range of LEDs in the overall LED index that you treat as a separate “zone.”
This is perfect when you have:
- Supa Strip as a neon line around the room
- Aura Strip as backlight behind the TV
- Aura under the desk or bar
You can wire these:
- Either as separate outputs (on multi-output WLED boards), or
- Daisy-chained in a single line (with data flowing from one strip to the next)
Then you define segments like:
Segment 0: LEDs 0–287   (Supa Strip around wall)
Segment 1: LEDs 288–575 (Aura behind TV)
Segment 2: LEDs 576–863 (Aura under desk)
In WLED’s UI you can then:
- Give each segment its own effect, color, and brightness
- Sync segments together, or let them run independent looks
- Save presets that recall whole-room states (e.g., “Cinema,” “Desk Work,” “Neon Party”)
For Supa Strip + Aura builds, segments are what turn one LED mess into a cleanly organized lighting system.
Effects, Palettes, and Presets
WLED comes loaded with:
- A big library of effects (solid, gradients, waves, twinkles, noise, etc.)
- Color palettes to keep your colors cohesive
- A preset system for saving combinations of effects, colors, and segment settings
For Supa Strip and Aura, some practical tips:
- Use solid or gentle gradient effects for everyday scenes, especially when white light matters.
- Save a couple of “utility” presets:
- Neutral white, low brightness (evening)
- Neutral white, medium brightness (daytime)
- Add a few “fun” presets for parties or streams:
- Animated gradients along Supa Strip, with Aura Strips at a softer, complementary color
- Sound-reactive modes if you’re using a WLED build with microphone support
You can then:
- Trigger presets from the web UI
- Map them to Home Assistant automations
- Use HTTP or MQTT calls if you’re integrating with other systems
Example Layouts Using WLED, Supa Strip, and Aura
To make this concrete, here are a few example setups.
1. “Neon Room Outline + Back Wall Glow”
- Supa Strip: 5 m run around the top of the walls, fully visible neon line
- Aura Strip: 5 m behind the TV wall or bed headboard
Wiring (conceptual):
- Both strips powered from a 12V 20A or 40A PSU, with injection as needed
- Single WLED controller, segments for each strip
In WLED:
- Segment 0: Supa Strip – run bold effects or animated gradients
- Segment 1: Aura – run soft, slower patterns or solid colors
Presets:
- “Chill”: Both strips neutral white at low brightness
- “Movie”: Aura warm white low, Supa Strip off or dim
- “Neon”: Supa running animated gradients, Aura at a soft complementary color
2. “Streamer Desk: Edge Neon + Ambient Glow”
- Supa Strip: 2–3 m mounted along the front edge or wall above the desk
- Aura Strip: under the desk and behind monitors
In WLED:
- Segment 0: Supa Strip – the eye-catching part in frame
- Segment 1: Aura – gentle wash on the wall & floor
Presets:
- “Work”: Aura neutral white, Supa Strip low-key or off
- “Stream”: Both colorful but with different effects
- “AFK”: Dim warm white for a calmer idle state
3. “Sign or Logo + Room Fill”
- Supa Strip: cut and arranged into a simple logo or word on the wall using clips
- Aura Strip: room perimeter or ceiling cove
Segments help you:
- Run the logo/sign at one pattern (e.g., pulsing, chasing)
- Keep the room perimeter at a steady complementary gradient
Best Practices & Tips for WLED with Supa Strip / Aura
- Always share ground between WLED controller, PSU, and strips.
- Keep data lines short and clean wherever possible; use a level shifter or a controller board with robust data outputs.
- Use fuses or breakers on strip branches from a large PSU (20A/40A) to help protect wiring.
- Take advantage of WLED’s maximum current limit and global brightness slider to keep heat and power draw where you want them.
- Document your layout: LED counts per segment, power injection points, PSU rating. Your future self will thank you.
FAQ
Do I need an ESP32 or will ESP8266 work?
WLED runs on both, but for bigger Supa/Aura installs, an ESP32 is recommended. It has more performance and memory, which is helpful with large LED counts and extra features.
Can one WLED controller run both Supa Strip and Aura Strip?
Yes. As long as:
- Your PSU and wiring are sized correctly
- Total LED count stays within WLED’s practical range for your hardware
- You use segments (and possibly multiple outputs on some boards) to organize things
Many builds use a single WLED controller to run both Supa Strip and Aura Strip.
How do I stop WLED from overloading my power supply?
Use a combination of:
- Correct PSU sizing (keeping continuous load ~70–80% of rating)
- WLED’s LED power limit feature (set max milliamps/amps)
- Reasonable global brightness (you’ll be surprised how bright 40–60% already is)
Does WLED support RGBW, or just RGB?
WLED supports RGBW strips. That means Supa Strip’s 4000K white channel and RGBW Aura variants are properly addressed, letting you blend white with color for more natural looks.
Can I use WLED without internet?
Yes. WLED can:
- Run as its own Wi‑Fi access point, or
- Live on your local network without any external cloud connection
Your phone or computer just needs to be able to see the controller’s IP address or AP.
WLED turns your Supa Strip and Aura Strip from “just lights” into a programmable lighting system—with scenes, segments, and smart control, all built on top of hardware you understand and power you’ve planned yourself. Once you use it in one project, it tends to become the default brain for every LED build after that.